Weeping Angel Costume
Rate this costume:
|
4 votes
| add a comment |

Weeping Angel
| Costume type: | Costumes for Girls |
| Category: |
This homemade costume for girls entered our 2015 Halloween Costume Contest.
A word from Brooke, the 'Weeping Angel' costume creator:
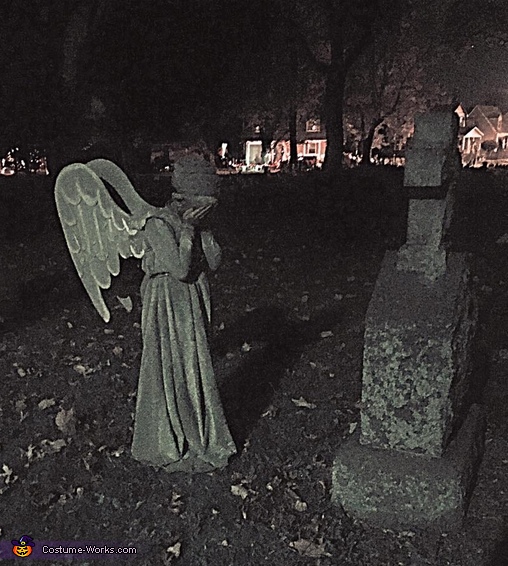
This is my daughter, Tess, the Weeping Angel. The inspiration for this costume came when my husband contracted a terrible case of Doctor Who a few years ago. After refusing orders to remain under quarantine during episode outbreaks, it wasn't long before he infected the entire family. Tess loves the Weeping Angels, and my husband and I love making the most ostentatious Halloween costumes possible.
There were three main components to tackle for this costume, and all three needed to be made from the ground up: dress, wings, wig.
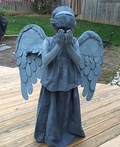
1. Dress (Fabric cost = $45.00) The dress was the easiest part. I measured Tess from shoulder to shoulder, and shoulder to toe. I purchased 3.5 yards of stretchy slate gray fabric, which turned out to be just enough--I laid the fabric flat, drew a circle for the neck, two C-shaped armholes, and cut out the dress form. I stitched the sides of the dress together and then hemmed it, leaving a ton of length for draping. For the top of the dress I cheated a bit and used the bib from an old choir robe to trace and cut out the overlay. Once the bib overlay was stitched and edges hemmed, I painted everything with white fabric paint to create a stony effect, and then cut two slits in the back of the bib to accommodate the...
2. Wings (Foam board $4.00/Paint $20.00 for two cans of granite effect spray paint) To make the wings, I bought four sheets of foam board, handed them to my husband and said, "Here...make the wings." But I did watch. He measured Tess from shoulder to hip, and then drew the wing shape out of all four pieces of foam. He cut out paper feathers which were layered over the foam, and sprayed all four pieces with granite texture paint. Once dry, he glued each pair of wings together and then glued the flat part of the wing shape to another piece of foam. Using florist wire, he made two loops and attached them to the board so that the wings fit on Tess' back like a backpack. Once the whole thing was together he painted it with white fabric paint to accent the feathers. It might sound like he had the hardest job, but it was on my head to create...
3. The wig (Yarn $5.00/Adhesive $4.00) I bought a full pound of gray yarn, unwound it all over my living room, and then hooked one end over the staircase bannister. I stood about six feet away, holding the other end, and spent forty five minutes throwing yarn over the bannister to create a huge loop of yarn about fifty strands thick. Once the loop was big enough I cut through one end of it so I had about twelve feet of yarn to wrestle with. I took the yarn and centered it over a wig cap. Then I hand-stitched the yarn to the cap in as straight of a line as I could manage and popped the cap on a mannequin head. Using a glue gun and a needle and thread I styled my model's hair by sectioning the yarn and wrapping it in loops to cover the entire cap, attaching it as I went. I left two sections loose, and when the yarn 'hair' was in place, I braided the last pieces and wrapped them around the top. Then I took my mannequin head to the garage and sprayed the entire wig, first with clear adhesive and then the granite texture spray paint. The spraying was repeated several times over the next few days in an effort to make the wig as impenetrable to attack as possible.
4. Other stuff. Being October in NJ, I insulated my child with a white turtleneck ($7.00 for the turtleneck, $4.00 for the dye) that I dyed gray to match the dress, and gray tights ($4.00). I painted a pair of her shoes with gray and white acrylic, and then I painted her with a huge cake of gray eyeshadow ($8.00), revered for its staying power. I used one strip of fabric to create a belt that helped drape the dress properly, and another strip to wrap around the yarn wig--that kept it tethered to her head and also hid any little bald spots that might have peeked through.
The entire costume took about two weeks and around $100.00 to construct, and in the end she really looked like a stone figure come to life!
Similar costumes:
Rating: 3.8 of 5. Votes: 4
|
4 votes
|


